

Garage Upgrade Preparation: What to Do First
A garage upgrade isn’t just about picking a floor color and booking an installer. Garage upgrade preparation is the part most homeowners skip—and it’s the part that determines whether the project goes smoothly or costs you extra time and money.
If you’re planning new lighting, fresh paint, storage cabinets, and a professional garage floor coating, the order you complete each step matters. Do it wrong, and you risk painting over a new floor, grinding dust into fresh paint, or leaving bare concrete hidden under cabinets.
This guide walks you through the correct preparation order—declutter, lighting, paint, floor coating, storage—and explains why each step belongs where it does. No guesswork. Just the sequence professionals use.
Why Garage Upgrade Preparation Matters
Most garage upgrade mistakes don’t happen during installation—they happen before it. A floor coating installed before painting means paint drips on a fresh topcoat. Lighting installed after coating means dust settling into a curing surface. Cabinets installed before coating means bare concrete underneath forever.
Good preparation solves all of that. It protects your investment, reduces rework, and gives your installer the clean, empty space they need to do their best work.
The rule is simple: Do the messy, dusty, drippy work first. Save the finished floor for last.
Step 1: Declutter and Clear the Space
Before anything else, empty the garage. An empty space makes every step easier—from painting and lighting to grinding and coating.
If you’re replacing cabinets or shelving, remove those first as well. Starting with a clean, empty workspace helps your installers work efficiently and ensures every part of your garage is accessible.
Pro Tip
If you’re keeping items in the garage during the project, ask your contractor how much space needs to be cleared before installation day. For a professional floor coating, the entire floor must be accessible.
Step 2: Install or Upgrade Lighting
If you’re adding new lighting or replacing existing fixtures, complete that work before your garage floor coating is installed.
Installing new lighting often involves electrical work, drilling, or cutting into drywall—all of which create dust and debris. Completing these projects first keeps your concrete surface clean and lets your installer work in the best possible conditions.
It’s also a chance to think about how you’ll use the garage. Parking, hobbies, storage, or a home workshop—better lighting improves function and appearance either way.
Pro Tip
Choose bright, even LED shop lights. They make the space more functional and showcase the new floor once the project is complete.
Step 3: Paint Walls and Ceiling
Painting is much easier when the garage is empty and before your new floor coating has been installed.
Even with drop cloths, paint drips and splatters happen. Completing all painting beforehand eliminates the risk of damaging a freshly coated floor and creates a cleaner finished edge where the walls meet the floor.
Patch drywall, repair cracks, and install trim at this stage too. All of it creates dust—and dust belongs before the coating, not after.
Golden rule: Anything that creates dust, debris, or drips happens before the floor coating goes down.
Step 4: Install the Garage Floor Coating
Once lighting and painting are done, it’s time for the centerpiece: the floor coating.
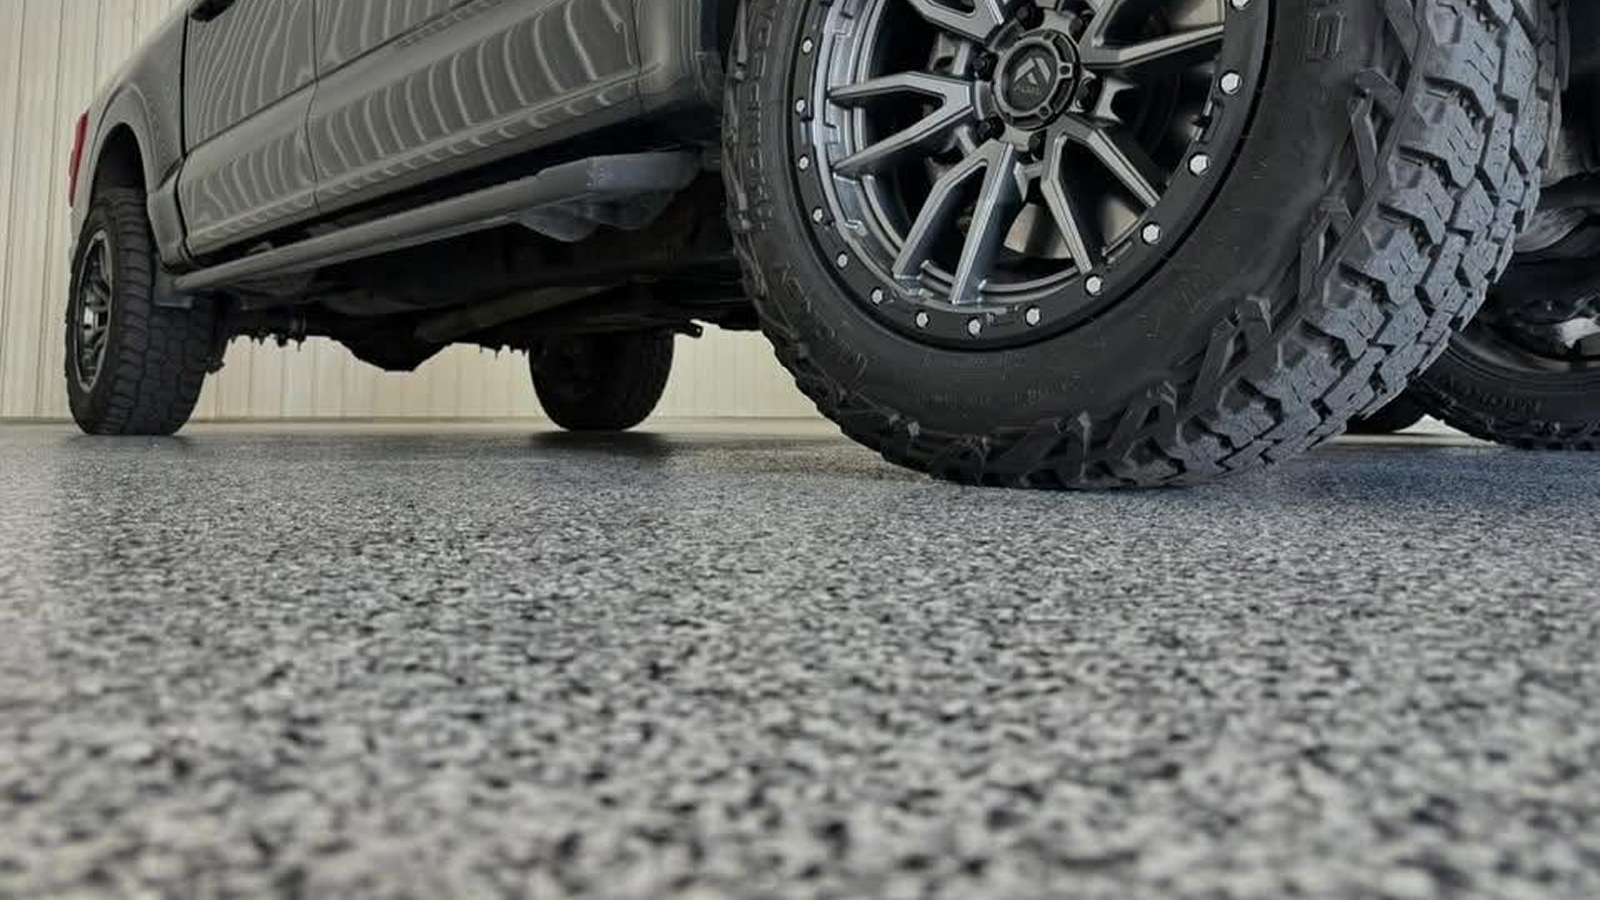
A professionally installed polyurea/polyaspartic system creates a durable, seamless surface built for vehicle traffic, spills, hot tire pickup, and seasonal temperature swings. Completing the coating before cabinets and storage go in gives the installer full access to the slab—and gives you the best possible finish.
In Northern Michigan, this step matters even more. Freeze-thaw cycles and road salt are brutal on concrete. A flexible polyurea base with a UV-stable polyaspartic topcoat moves with the slab instead of cracking under pressure.
Cure Time Matters
After installation, allow the coating to cure before moving vehicles, cabinets, or heavy items back in. Typical timelines:
- Foot traffic: 12–24 hours
- Light items: 24 hours
- Vehicles: 48–72 hours
Always confirm with your installer and the product data sheet.
Step 5: Add Cabinets and Storage Last
After the coating has fully cured, install cabinets, workbenches, slatwall, and storage systems.
Waiting gives you flexibility. If your storage needs change later, you’ll have a finished floor underneath—making it easy to move or replace cabinets without exposing bare concrete.
To protect the floor, use felt pads or protective glides under cabinet legs and heavy furniture that rests directly on the coating.
Garage Upgrade Timeline
| Step | Project | Why This Order |
|---|---|---|
| 1 | Declutter and clear the space | Empty garage = efficient work, full floor access |
| 2 | Install or upgrade lighting | Electrical work creates dust and debris |
| 3 | Paint walls and ceiling | Paint drips can damage a new floor |
| 4 | Install garage floor coating | Full access to floor before cabinets go in |
| 5 | Add cabinets, storage, finishing touches | Protect the new floor; design with freedom |
Why This Order Matters in Northern Michigan
Traverse City and the Grand Traverse region put garage floors through a lot. Lake-effect snow, road salt, and freeze-thaw cycles are hard on concrete—and on coatings that aren’t installed correctly.
Getting the order right isn’t just about convenience. It’s about protection:
- Painting first means no accidental splatter on a fresh polyaspartic topcoat.
- Lighting first means no drywall dust settling into a curing floor.
- Coating before cabinets means the entire slab gets sealed—no bare concrete hiding under storage.
For homeowners in Traverse City, Leelanau, Benzie, Kalkaska, and Antrim counties, a professionally sequenced garage upgrade delivers a finished space that handles Michigan winters without the failure points that come from rushed or out-of-order work.
Local tip: Schedule the coating before the first hard freeze. Fall is the best window in Northern Michigan—the slab is still warm and the air is dry.
Frequently Asked Questions
What should I do first in a garage upgrade?
Declutter and empty the garage first. Then complete lighting and electrical work, followed by painting and drywall repair. The floor coating comes after all the messy work is done. Cabinets and storage go in last, after the coating has fully cured.
Should I paint my garage walls before or after the floor coating?
Paint the walls and ceiling before the floor coating. Paint drips, splatters, and dust from drywall repair can damage a fresh coating. Painting first eliminates that risk and gives you a cleaner finished edge where the wall meets the floor.
Can I install cabinets before the garage floor coating?
No. Install cabinets after the coating has fully cured. If cabinets are in place during installation, the contractor can’t coat the concrete underneath them—leaving bare spots that can absorb moisture and undermine the finished look. Waiting also gives you flexibility to redesign the storage layout later.
How long after floor coating can I park my car?
Most professional polyurea/polyaspartic systems allow vehicle traffic after 48–72 hours. Foot traffic is typically safe within 12–24 hours. Always follow your installer’s recommendations and the product data sheet—cure times vary by temperature and humidity.
Do I need to empty my entire garage for a floor coating?
Yes. A professional floor coating requires full access to the concrete slab for grinding, repair, and application. Items can be moved to one side during early phases, but the floor itself must be completely clear on installation day. Ask your contractor how much space to clear in advance.
What happens if I install lighting after the floor coating?
Drilling, cutting drywall, and running electrical work create dust and debris that can settle into a curing or freshly cured coating. Metal shavings or dropped tools can also chip or scratch the surface. Always complete lighting and electrical work before the coating is installed.
Can I do the painting and lighting myself to save money?
Yes—painting and lighting are homeowner-friendly projects. The floor coating, however, requires professional equipment (diamond grinder, moisture testing, commercial-grade materials) and expertise. Many homeowners handle the prep work themselves and hire a certified installer for the coating.
When is the best time of year to coat a garage floor in Michigan?
Late summer through fall—roughly September to November—is the best window in Northern Michigan. The concrete slab is still warm from summer, the air is dry, and the coating has time to cure before the first hard freeze. Polyaspartic systems can be installed in cooler temperatures than standard epoxy, but ideal conditions are 55–85°F with low humidity.
Conclusion
A well-prepared garage upgrade doesn’t just look better. It protects every part of your investment by completing each project at the right time.
The order is simple: declutter → lighting → paint → floor coating → storage. Do the messy work first. Save the finished floor for last. Then build your storage around a surface that’s sealed, cured, and ready for decades of use.
Ready to start your garage upgrade? Great Lakes Concrete Coatings installs polyurea/polyaspartic systems built for Northern Michigan winters. We’ll help you plan the timeline, prepare the slab, and deliver a floor that looks as good as it performs. Call (231) 299-6960 for a free on-site quote—or fill out the form below to get started.