
Why Is My Garage Floor Coating Peeling? 10 Causes and How to Fix It
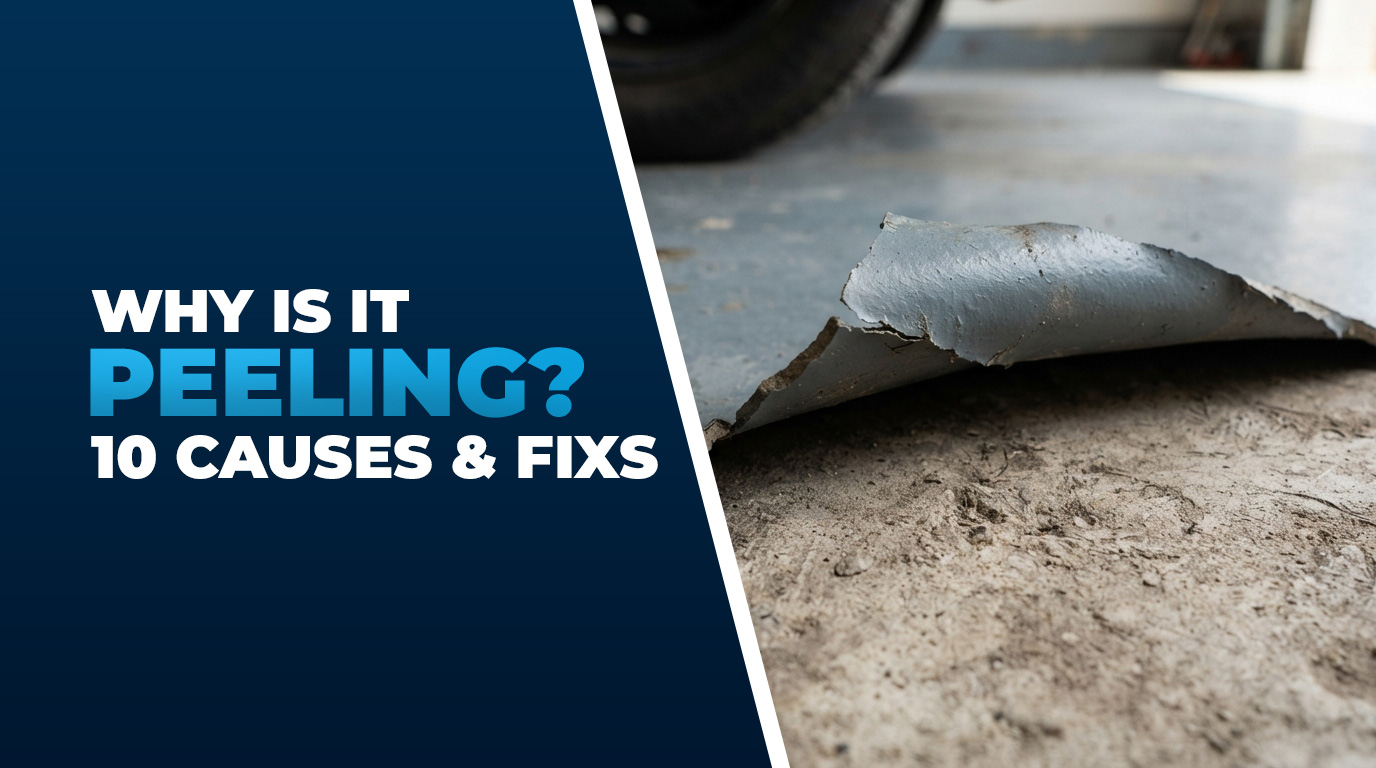
Few things are more frustrating than watching a fresh garage floor coating lift, flake, or peel away weeks after you finished it. The good news: epoxy doesn’t peel randomly. It peels for a short list of predictable reasons, and almost every one traces back to a single root cause—the coating never truly bonded to the concrete in the first place.
Garage floor coatings peel when the bond between the coating and the underlying concrete slab breaks. In cold climates like Northern Michigan, trapped moisture, winter de-icing salts, and severe freeze-thaw cycles put immense stress on standard finishes, causing thin or poorly prepped coatings to bubble, flake, and separate from the slab. Industry standards show that roughly 85% of all garage coating failures trace directly back to improper surface preparation.
This guide covers the 10 most common causes of peeling, how to identify which one is affecting your floor, and exactly how to fix it—whether it’s a small patch or a full redo.
What Causes Garage Floor Coating to Peel?
Garage floor coatings fail for predictable reasons. Almost every one traces back to a single root cause: the coating never truly bonded to the concrete.
Concrete is porous and alkaline. A proper coating needs to mechanically grip an open, profiled surface. When that grip is compromised—by moisture, contamination, or poor prep—the coating lifts, bubbles, and eventually peels away.
Here are the 10 causes, ranked by how often they appear in real-world failures.
1. Inadequate Mechanical Profiling
This is the number-one cause, full stop.
Epoxy and polyaspartic coatings bond mechanically. They need a slightly rough, open-pore surface to grip. A smooth, troweled, or power-floated slab is like painting glass—it looks fine for a while, then sheets right off.
Applying a premium coating over tight, unground concrete means it will slide right off.
2. Using DIY Acid Etching Kits
Consumer-grade acid etching kits rarely open concrete pores deeply enough. They typically achieve only a Concrete Surface Profile of CSP 1 or 2, when professional systems require at least a CSP 3.
Acid etching alone often isn’t aggressive enough on dense concrete. It can also leave behind residue that interferes with adhesion.
3. Trapped Sub-Slab Moisture Vapor
Concrete acts like a sponge, drawing groundwater upward from the soil beneath it. This is called hydrostatic pressure, and it pushes against the underside of your coating, breaking the bond.
You’ll see bubbling first, then peeling—often in patches. This is the silent killer of garage and basement floors, especially in regions with high water tables or freeze-thaw cycles.
4. Winter Road Salt and Chemical Exposure
In Northern Michigan and similar climates, de-icing salts brought in by tires penetrate porous areas of the coating. These chemicals accelerate the breakdown of rigid or low-quality materials.
Salt doesn’t just sit on the surface—it works its way into microscopic gaps, expands as it dries, and pries the coating away from the concrete.
5. Hot Tire Pickup
When vehicle tires warm up from driving and sit on a cheap or under-cured coating, they contract as they cool. This contraction literally tears the coating away from the concrete when the car drives away.
You’ll often see the tire footprint pattern in the peeled areas.
6. Unremoved Contaminants (Oil and Grease)
Motor oil, fluid leaks, tire dressing residue, silicone, and old sealers all create a slick barrier. The resin can’t make direct contact with the clean concrete pores underneath.
Garage floors are especially bad for this. Years of engine drips soak deep into the pores. Epoxy applied over contamination will “fisheye” as it goes down and peel later.
7. Missing or Wrong Primer Layer
Skipping a dedicated moisture-barrier or penetrating concrete primer means the topcoat is forced to adhere to micro-dust rather than stable concrete.
A primer serves two purposes: it seals the concrete surface and creates a compatible bonding layer for the topcoat. Without it, you’re relying on luck.
8. Existing Paint or Failing Sealers
Many slabs already carry a cure-and-seal or a failing old coating. New epoxy can only bond as well as whatever is underneath it.
Bond to a loose sealer and you inherit its failure. The new layer will fail as soon as the old bottom layer releases.
9. Improper Multi-Part Mixing Ratios
Epoxy and polyaspartic are two-part systems measured precisely. Eyeball the ratio, mix it lazily, or use product that’s been sitting for years, and it won’t cure to full hardness.
Failing to mix to precise manufacturer ratios prevents proper chemical cross-linking, resulting in a permanently tacky or brittle coat. A soft floor is a peeling floor.
10. Extreme Temperature Swings During Curing
Epoxy is a chemical reaction, and cold concrete slows or stalls it. Coat a 45°F slab and the epoxy may never fully cross-link, leaving a soft, weakly bonded film.
Northern Michigan’s shifting weather can cause high humidity or freezing temperatures during application, ruining the chemical curing window. Applying in high humidity or with dew forming can cause “amine blush” that ruins adhesion of the next coat.
How to Fix a Peeling Garage Floor Coating
Depending on the extent of the damage, you have two primary options.
Option A: Localized Patch Repair (For Small, Isolated Spots)
If only a small, isolated area lifted and the rest is rock-solid, you can patch it.
When to choose this: The peeling is confined to one or two small spots, the rest of the floor is firmly bonded, and moisture testing confirms the slab is dry.
Option B: Full Mechanical Grind and Recoat (For Widespread Peeling)
If the floor is peeling in multiple places, the bond failed system-wide. The honest fix is to grind it all off and start over with proper prep.
When to choose this: Peeling in multiple areas, bubbling across the floor, or moisture testing shows high vapor transmission. A patched-over adhesion failure just fails again.
Comparison: Patch Repair vs. Full Recoat
| Factor | Patch Repair | Full Grind & Recoat |
|---|---|---|
| Best for | Small, isolated peeling | Widespread peeling or bubbling |
| Moisture required | Must be dry | Can address moisture with barrier primer |
| Time | 1–2 hours | 1–3 days |
| Cost | Low | Medium to high |
| Durability | Temporary if cause isn’t fixed | Long-term if prep is done right |
| DIY friendly | Yes | No—requires diamond grinder |
Best Practices to Prevent Peeling
- Test for moisture first. Tape a plastic sheet down overnight or run a calcium chloride / RH probe test. Never skip this step.
- Grind, don’t acid etch. Diamond grinding achieves CSP 3. Acid etching rarely does.
- Degrease before grinding. Oil and grease soak deep. Grinding alone can smear contamination into the pores.
- Use a primer. A moisture vapor barrier primer is non-negotiable on grade-level slabs.
- Respect the recoat window. Between coats, epoxy has a window where the next layer chemically bonds. Miss it and you may need to scuff-sand.
- Measure your mix ratio. Eyeballing is the fastest way to a soft, peeling floor.
- Watch the weather. Apply between 55–85°F with falling humidity. Avoid dew formation.
- Choose the right system. In freeze-thaw climates, polyaspartic and polyurea outperform standard epoxy.
- Don’t coat over unknowns. Test a small area before committing to a full floor.
- Use fresh product. Expired resin won’t cure to full hardness.
Common Mistakes to Avoid
- Skipping the moisture test. This is the silent killer. You won’t know until it peels.
- Using a DIY acid etch kit. It rarely opens the pores enough for a professional-grade bond.
- Coating over a sealed floor. The new coating inherits the old sealer’s failure.
- Mixing partial batches by eye. Two-part systems need precise ratios.
- Applying in cold or humid conditions. The chemical reaction won’t complete.
- Ignoring the recoat window. A cured surface needs scuffing before the next coat.
- Patching over widespread failure. If the bond failed everywhere, a patch is temporary at best.
Frequently Asked Questions
What is the number one reason garage floor coatings peel?
Inadequate surface preparation. Epoxy bonds mechanically to a profiled, open-pore surface. Applied over smooth, sealed, or contaminated concrete, it can’t grip and eventually peels. Roughly 85% of failures trace back to this.
How do I know if my concrete has a moisture problem?
Tape a plastic sheet to the slab overnight. Condensation or a darkened slab underneath means moisture is present. For a more precise reading, run a calcium chloride or RH probe test. If high, prime with a moisture vapor barrier before coating.
Can I fix a peeling garage floor without redoing the whole thing?
Only if the failure is small and isolated. Grind out the bad area, feather the edges, and patch. Widespread peeling means the bond failed everywhere, and the floor should be removed and redone with proper prep.
Why does my coating peel around the tires?
Hot tire pickup. Warm tires soften cheap or under-cured coatings, then contract as they cool, tearing the coating away. Polyaspartic topcoats resist this far better than standard epoxy.
Does winter salt cause garage floor coating to peel?
Yes. De-icing salts penetrate porous areas and accelerate breakdown, especially in rigid or low-quality coatings. In Northern Michigan and similar climates, this is a major cause of failure.
How long should I wait before recoating?
Follow the recoat times on your product’s data sheet. Typically, epoxy has a window of several hours to a day before it cures too hard for a chemical bond. Miss it and you’ll need to scuff-sand.
Conclusion
The theme running through all 10 causes is the same: a floor is only as good as its bond to the slab. Prep like a pro, test for moisture, respect the product’s window, and your coating will outlast the concrete under it.
If your floor is peeling in multiple places, don’t patch it—grind it off and start over with proper prep. If it’s one small spot and the slab is dry, a localized patch can work.
Next step: Test your slab for moisture today. If it’s dry, you’re ready to coat. If it’s not, a moisture vapor barrier primer is your first line of defense.