

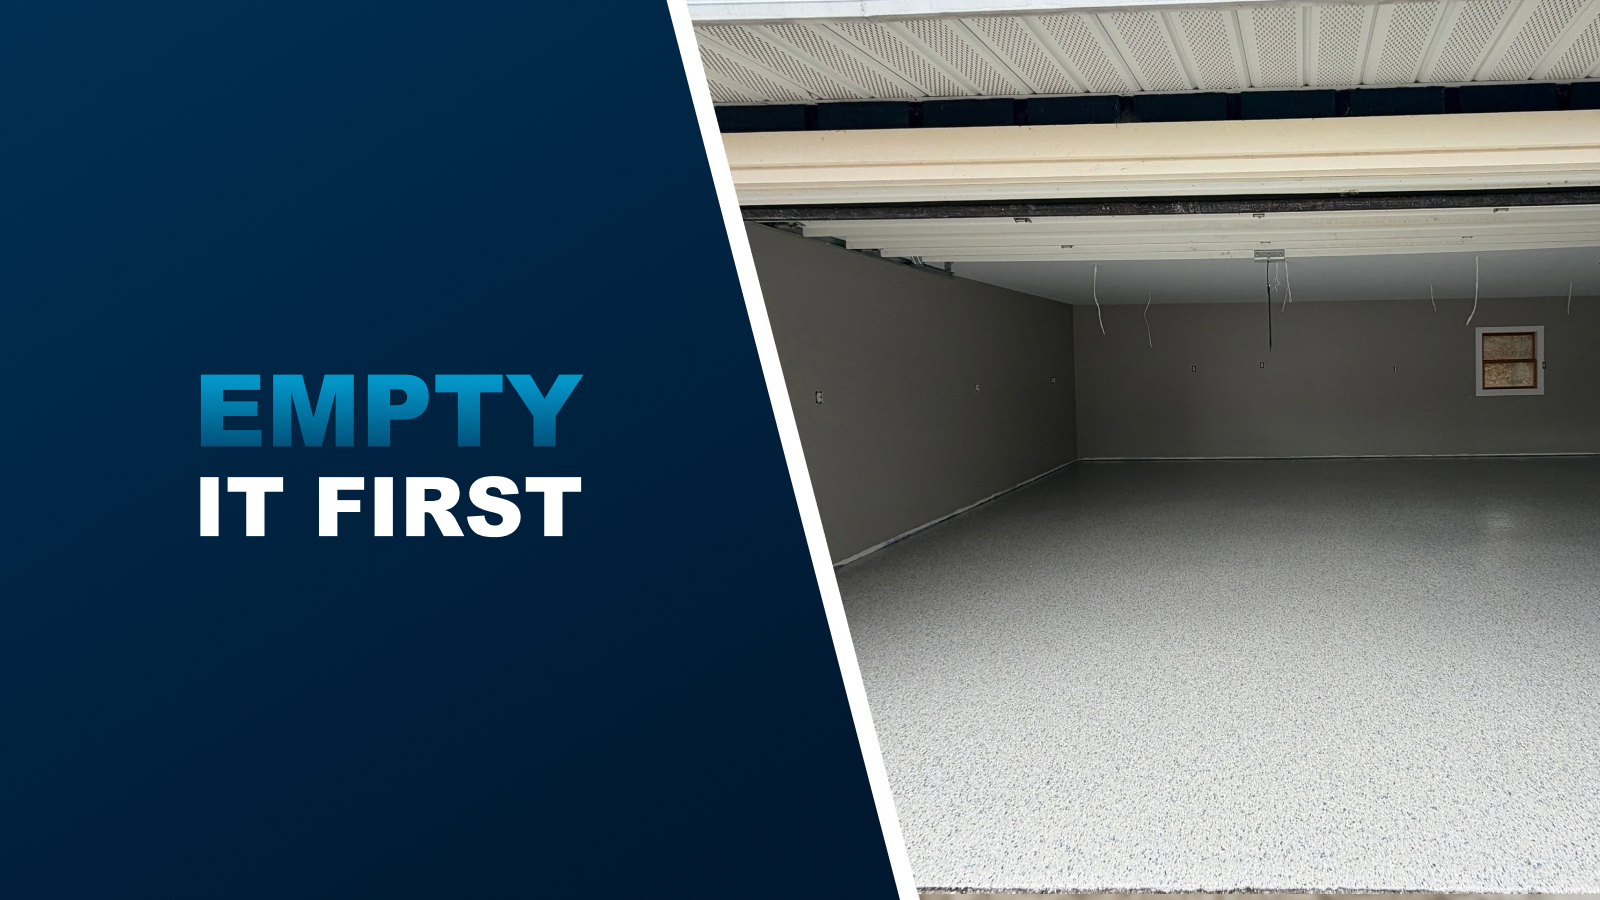
Do I Need to Empty My Garage Before Floor Coating Installation?
If you’ve scheduled a garage floor coating installation, you’ve probably asked the question: do I need to empty my garage before installation? The short answer is yes—the floor needs to be completely clear before the crew arrives.
Removing your vehicles, storage boxes, tools, and other belongings gives the installation team full access to your concrete floor. That matters because professional coating installation isn’t just rolling on a finish—it involves diamond grinding the entire slab, repairing cracks, cleaning the surface, and applying multiple layers of coating.
This guide covers exactly what to remove, what can stay, how long before installation you should clear things out, and what to do if you don’t have space to store everything. It’s the same preparation checklist we give every homeowner before a Great Lakes Concrete Coatings installation in Traverse City.
Why Does the Garage Need to Be Empty?
Installing a garage floor coating involves more than applying a protective layer. Professional installers first prepare the existing concrete using diamond grinding, repair cracks when necessary, and clean the surface before applying the coating system.
An empty garage helps installers:
Prepare the Entire Concrete Surface
Every area included in the project needs proper preparation. A car or storage cabinet sitting on the floor means that area doesn’t get ground, repaired, or coated—leaving a bare patch that looks unfinished and can absorb moisture.
Achieve Better Coating Adhesion
Proper surface preparation helps the coating bond to the concrete. Grinding equipment needs to reach every square foot—including the corners, edges, and areas under where shelves or toolboxes were sitting.
Avoid Dust Contamination
Concrete grinding creates dust that can affect nearby belongings. Items left in the garage—even against the walls—end up covered in fine concrete dust that’s difficult to clean off fabric, cardboard, and electronics.
Deliver a Consistent Finish
Removing obstacles helps prevent missed or inaccessible areas. A floor with a car-shaped bare patch isn’t a finished floor—it’s a floor with a problem.
Complete Installation Efficiently
A clear workspace allows the crew to focus on the project. Crews that have to move items around waste time, and time is money on an installation day—especially on a one-day polyaspartic installation.
The bottom line: An empty garage isn’t a preference—it’s a requirement for a quality installation. Every item left on the floor is a spot that doesn’t get properly prepared or coated.
What Should You Remove Before Installation?
Before your scheduled garage floor coating installation, remove anything sitting on the concrete floor.
Common items to relocate include:
- Vehicles: Cars, trucks, motorcycles, and bikes must be parked outside or off-site.
- Floor items: Storage bins, tool chests, lawnmowers, portable shelves, and anything sitting directly on the concrete slab.
- Seasonal equipment: Snowblowers, gardening equipment, holiday decorations, and boxes.
- Recreation gear: Bicycles, sports equipment, and children’s toys.
- Workshop items: Toolboxes, workbenches, and free-standing cabinets.
- Miscellaneous: Garbage cans, floor mats, rugs, and loose debris.
Rule of thumb: If it’s touching the concrete, it needs to move. If it’s mounted to the wall and not touching the floor, it can usually stay.
What Can Stay in the Garage?
Not everything has to leave the garage. These items can usually stay in place:
Wall-Mounted Storage
Mounted shelves, hooks, and cabinets hanging securely on the walls can usually stay in place—provided they are not sitting on the floor or within about 36 inches of the bottom if they interfere with edging. Discuss built-in cabinets, heavy workbenches, and permanent fixtures with your installer beforehand.
Ceiling Storage
Overhead racks or storage units remain untouched. They’re out of the way and don’t interfere with floor preparation or coating application.
Wall-Mounted Tools
Pegboards, wall-mounted tool racks, and hanging organizers can generally stay as long as they don’t obstruct access to the floor edges.
Check with your installer: Every installation is different. Before installation day, ask your contractor which items need to be relocated. This helps avoid unexpected delays or areas being left uncoated.
Can Heavy Items Stay in the Garage?
It depends on the item and your installation plan.
| Item | Can It Stay? | Notes |
|---|---|---|
| Wall-mounted cabinets | Usually yes | If not touching the floor |
| Ceiling storage racks | Yes | Out of the way |
| Free-standing workbench | No | Needs to move |
| Heavy tool cabinet | No | Needs to move |
| Free-standing shelving | No | Needs to move |
| Refrigerator or freezer | Discuss | Ask installer about access |
| Built-in cabinets | Discuss | May block floor access |
Before installation day, ask your contractor which items need to be relocated. This helps avoid unexpected delays or areas being left uncoated.
How Long Before Installation Should You Clear It?
Clear everything out 24 to 48 hours before your scheduled appointment so the crew has immediate, unobstructed access. This gives you time to:
- Move vehicles to the driveway or another parking area.
- Relocate items to temporary storage.
- Remove rugs, mats, and loose debris.
- Sweep the floor to remove loose dirt and grit.
- Inform the contractor about oil stains, grease, cracks, or existing coatings.
Don’t wait until the morning of installation. Crews arrive early, and they need to start grinding immediately. If they spend the first hour waiting for you to move boxes, the entire schedule shifts—and for a one-day installation, that matters.
How Should You Prepare the Concrete Floor?
You don’t need to professionally clean or prepare the concrete yourself. Your installation team should handle the necessary preparation, including diamond grinding and surface repairs.
However, homeowners should:
- Remove all personal belongings from the garage.
- Move vehicles to the driveway or another parking area.
- Remove rugs, mats, and loose debris.
- Inform the contractor about oil stains, grease, cracks, or existing coatings.
- Make sure installers have clear access to the garage.
Professional concrete preparation, including diamond grinding and necessary repairs, is essential for a successful coating installation. If you have existing cracks or damage, let your installer know ahead of time—they may need extra preparation or repair work before the coating goes down.
Where to Put Everything During Installation
Most flooring companies do not offer move-in or move-out services due to time and liability limits. You will need to arrange temporary storage yourself. Common options:
- Backyard: For items that can handle weather (lawn equipment, some tools).
- Driveway: For vehicles and weather-safe items, if space allows.
- Neighbor’s garage: For bulky items if you have a willing neighbor.
- Basement or shed: For boxes and smaller items.
- Local storage unit: For large amounts of items or if you don’t have other space.
Plan ahead: If you’re coating a two-car garage, you’ll likely need more storage space than you think. Start clearing items a week ahead of time so you’re not scrambling the night before.
What Does Installation Day Look Like?
Many professional polyaspartic garage floor coating projects can be completed in just one day, depending on the garage size and concrete condition.
A typical installation includes:
- Concrete preparation: Diamond grinding and surface cleaning.
- Concrete repairs: Addressing cracks and damaged areas where necessary.
- Base coat application: Applying the coating system.
- Decorative flakes: Adding decorative flakes for the selected finish.
- Protective topcoat: Applying the final protective layer.
After installation, you’ll need to wait for the coating to cure before moving items back in. Foot traffic is typically safe within 12–24 hours. Vehicles can usually return after 48–72 hours. Always confirm with your installer—cure times vary by temperature and humidity. For more on what to expect, see our guide on how to prepare for installation.
Frequently Asked Questions
Do I really need to empty my entire garage for floor coating?
Yes. The entire concrete floor needs to be accessible for diamond grinding, crack repair, and coating application. Items left on the floor—even in corners—leave areas that can’t be properly prepared or coated. Wall-mounted items that don’t touch the floor can usually stay.
Can I leave my car in the garage during installation?
No. Vehicles must be moved to the driveway, street, or another parking area. The floor needs to be completely clear for grinding and coating. Plan to park elsewhere for at least 48–72 hours while the coating cures.
What about heavy cabinets or workbenches?
Free-standing cabinets, workbenches, and heavy tool chests usually need to move if the concrete underneath them will be coated. Wall-mounted cabinets that don’t touch the floor can often stay. Ask your installer which items need to be relocated.
How long before installation should I clear out my garage?
Clear everything out 24 to 48 hours before your scheduled appointment. This gives the crew immediate access and ensures the installation starts on time. Don’t wait until the morning of the installation.
Does the flooring company move my items for me?
Most flooring companies do not offer move-in or move-out services due to time and liability limits. You will need to arrange temporary storage yourself—in your backyard, a neighbor’s garage, or a local storage unit.
Can I leave things against the walls?
Items touching the floor need to move. Wall-mounted items that don’t touch the floor can usually stay, but they should be at least 36 inches above the floor if they might interfere with edging. Confirm with your installer.
What if I have oil stains or cracks in my garage floor?
Let your installer know about oil stains, grease, cracks, or existing coatings before installation day. These conditions may require extra preparation or repair work. A professional installer will assess the slab and tell you what’s needed.
When can I move things back into my garage after coating?
Foot traffic is typically safe within 12–24 hours. Light items can usually go back after 24 hours. Vehicles and heavy items should wait 48–72 hours. Always follow your installer’s specific recommendations—cure times vary by temperature and humidity.
Conclusion
Yes, you need to empty your garage before floor coating installation. The entire concrete floor needs to be accessible for diamond grinding, crack repair, and coating application. Items left on the floor—even in corners—leave areas that can’t be properly prepared.
Clear everything out 24 to 48 hours before your scheduled appointment. Wall-mounted items that don’t touch the floor can usually stay, but confirm with your installer. Arrange temporary storage for your vehicles and belongings—most flooring companies don’t move items for you.
An empty garage isn’t just a convenience for the crew. It’s what makes a consistent, lasting finish possible. Every square foot needs proper prep, and proper prep starts with an empty floor.
Have an installation coming up? Great Lakes Concrete Coatings installs polyaspartic floor systems across Traverse City and Northern Michigan. We’ll walk you through exactly what to remove, what can stay, and how to prepare before installation day. Call (231) 299-6960 for a free quote or to ask questions about your upcoming project.